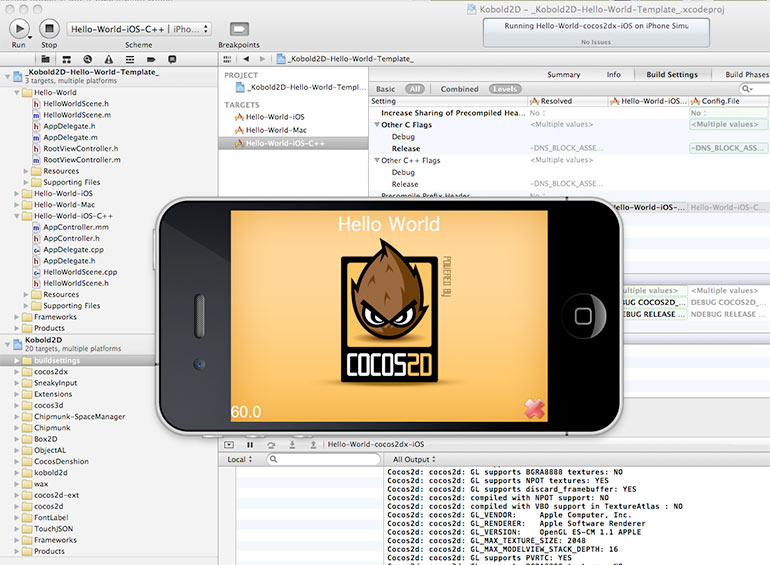
The current trend of iPhone gaming apps has taken the gaming world by storm. Almost every iPhone app developer has tried his/her hands on developing a game. Thanks to the availability of highly effective iOS app development frameworks, it has become feasible for the developers to create simple yet fun 2D games targeted at iOS devices. Cocos 2D is a fantastic iOS framework that has worked wonders for developers looking to develop games for smartphones. The following is a simple guide on developing your first game using the Cocos 2D 2.X framework.
Step 1- Download and install Cocos2D
Firstly, you’ll need to download the Cocos2D framework from the official Cocos2D-iPhone home page here. On this page, you’ll be able to choose from different versions of the software program including: Cocos2D 1.X vs Cocos2D 2.x and the stable vs stable choices. In this post, I’ll be referring to the creation of a simple iPhone game using the most recent Cocos2D 2.X. Many companies offering iPhone application development services have already worked on building gaming apps using Cocos2D.
Step 2- Start with adding a sprite
Just in case… A sprite is basically a 2D image that can be rotated, moved, animated, scaled and so on. Prior to proceeding ahead with addition of a sprite, opt for gathering some good game art/graphics. After having downloaded the required resources, unzip the file and drag everything over the Resources folder available within the Xcode. With images ready-for-use, try and figure out where you’d be placing the player. In Cocos2D, choosing the landscape mode means that the upper right corner is (480, 320) and that the game would run on a 3.5” screen. In addition to this, you may also opt for the (568, 320) option which would denote that the game would run on a 4” screen.
Step 3- Open the HelloWorldLayer.m file and replace the existing init method with the following code:
– (id) init
{
if ((self = [super init])) {
CGSize winSize = [CCDirector sharedDirector].winSize;
CCSprite *player = [CCSprite spriteWithFile:@“player.png”];
player.position = ccp(player.contentSize.width/2, winSize.height/2);
[self addChild:player];
}
return self;
}
Step 4- Add moving monsters
On this step, you’ll add some monsters into the game’s scene for the ninja to combat. Here, it is important to make the monsters move. You can do this by simply creating the monsters slightly off screen towards the right side, followed by setting up an action for them, prompting them to move into the left direction. For all this, simply add the below mentioned method before the init method:
– (void) addMonster {
CCSprite * monster = [CCSprite spriteWithFile:@“monster.png”];
// Determine where to spawn the monster along the Y axis
CGSize winSize = [CCDirector sharedDirector].winSize;
int minY = monster.contentSize.height / 2;
int maxY = winSize.height – monster.contentSize.height/2;
int rangeY = maxY – minY;
int actualY = (arc4random() % rangeY) + minY;
// Create the monster slightly off-screen along the right edge,
// and along a random position along the Y axis as calculated above
monster.position = ccp(winSize.width + monster.contentSize.width/2, actualY);
[self addChild:monster];
// Determine speed of the monster
int minDuration = 2.0;
int maxDuration = 4.0;
int rangeDuration = maxDuration – minDuration;
int actualDuration = (arc4random() % rangeDuration) + minDuration;
// Create the actions
CCMoveTo * actionMove = [CCMoveTo actionWithDuration:actualDuration
position:ccp(-monster.contentSize.width/2, actualY)];
CCCallBlockN * actionMoveDone = [CCCallBlockN actionWithBlock:^(CCNode *node) {
[node removeFromParentAndCleanup:YES];
}];
[monster runAction:[CCSequence actions:actionMove, actionMoveDone, nil]];
}
Step 5- Setting the background and logo
With Cocos2D came the concept of ‘scenes’. Each scene within the game can be effectively used for incorporating levels, menus, credits and a variety of other assets that collaboratively work as the backbone of the iPhone game. Within each scene, you can choose to include several Photoshop designs that can have separate properties including animations, background color, a shadow and even menus.
Step 6-Giving the finishing touches
Now that you’re pretty much close to having a workable game, it’s time to add some sound effects and music to your game. For this, you can add the following import to the top of your HelloWorldLayer.m file:
#import “SimpleAudioEngine.h”
Also, in the init method, add the code for the background music as shown below:
[[SimpleAudioEngine sharedEngine] playBackgroundMusic:@“background-music-aac.caf”];
Lastly, for the sound effects, add the below code snippet in your ccTouchesEnded method:
[[SimpleAudioEngine sharedEngine] playEffect:@“pew-pew-lei.caf”];
Finally, create a new file using the iOS\cocos2d ve.x\CCNode class template followed by making it a subclass of CCLayerColor and clicking the “Next” button. Now, name this class as GameOverLayer and click on the ‘Create’ button. Replace the GameOverLayer.h file with the following code:
#import “cocos2d.h”
@interface GameOverLayer : CCLayerColor
+(CCScene *) sceneWithWon:(BOOL)won;
– (id)initWithWon:(BOOL)won;
@end
Lastly, replace the GameOverLayer.m
#import “GameOverLayer.h”
#import “HelloWorldLayer.h”
@implementation GameOverLayer
+(CCScene *) sceneWithWon:(BOOL)won {
CCScene *scene = [CCScene node];
GameOverLayer *layer = [[[GameOverLayer alloc] initWithWon:won] autorelease];
[scene addChild: layer];
return scene;
}
– (id)initWithWon:(BOOL)won {
-————————————– for more, please refer to Google.
Wrapping Up
There you have it, all the basic steps that need to create an iPhone game using the very cool Cocos iOS framework. I hope the above guide has encouraged you to keep learning more about Cocos2D 2.X and its varied appealing advantages.


